Design for Manufacturing: Best Practices for CNC Machining
When I first started in precision manufacturing over two decades ago, I learned a hard lesson that many engineers discover too late: the best design on paper doesn't always translate to the best manufactured part. At Multitech Manufacturing in Fremont, California, we've seen countless projects where a simple design change could have saved thousands of dollars and weeks of production time.
Design for Manufacturing (DFM) isn't just a buzzword—it's the difference between a project that runs smoothly and one that becomes a costly nightmare. After machining thousands of parts for everything from aerospace components to medical devices, I can tell you that proper DFM principles can reduce costs by 30-50% while dramatically improving part quality and reducing lead times.
What is Design for Manufacturing?
Think of DFM as designing with the end in mind. Instead of creating a beautiful design and then figuring out how to make it, DFM means considering manufacturing constraints, capabilities, and costs from day one. It's like the difference between designing a house and then trying to figure out how to build it versus designing a house that's actually buildable.
When you design for manufacturing, you're essentially having a conversation with your machinist before the first cut is made. You're asking questions like: "Can this be machined in one setup?" "Are these tolerances really necessary?" "Would this design work better with standard tooling?"
The Five Golden Rules of DFM
After years of working with engineers and designers, I've identified five key principles that can make or break a manufacturing project. These aren't just theoretical concepts—they're practical guidelines that I use every day in our shop.
1. Minimize Setup Changes (The Time Killer)
Here's something that might surprise you: every time we have to change the setup on a CNC machine, it costs us about 2-4 hours of non-productive time. That's time spent on fixturing, alignment, tool changes, calibration, and quality inspection. I've seen projects where we went from 3 setups to 1 setup and saved 40-60% in total machining time.
The reality check: Last month, we had a customer's bracket that required 4 different setups. After a quick DFM review, we redesigned it to use just 1 setup. The result? We cut the machining time from 8 hours to 3 hours and reduced the cost by $200 per part.
What this means for you:
- Design parts that can be machined from one orientation when possible
- Group similar features on the same side of the part
- Use standard workholding methods that we already have
- Consider multi-axis machining for complex parts—it's often worth the investment
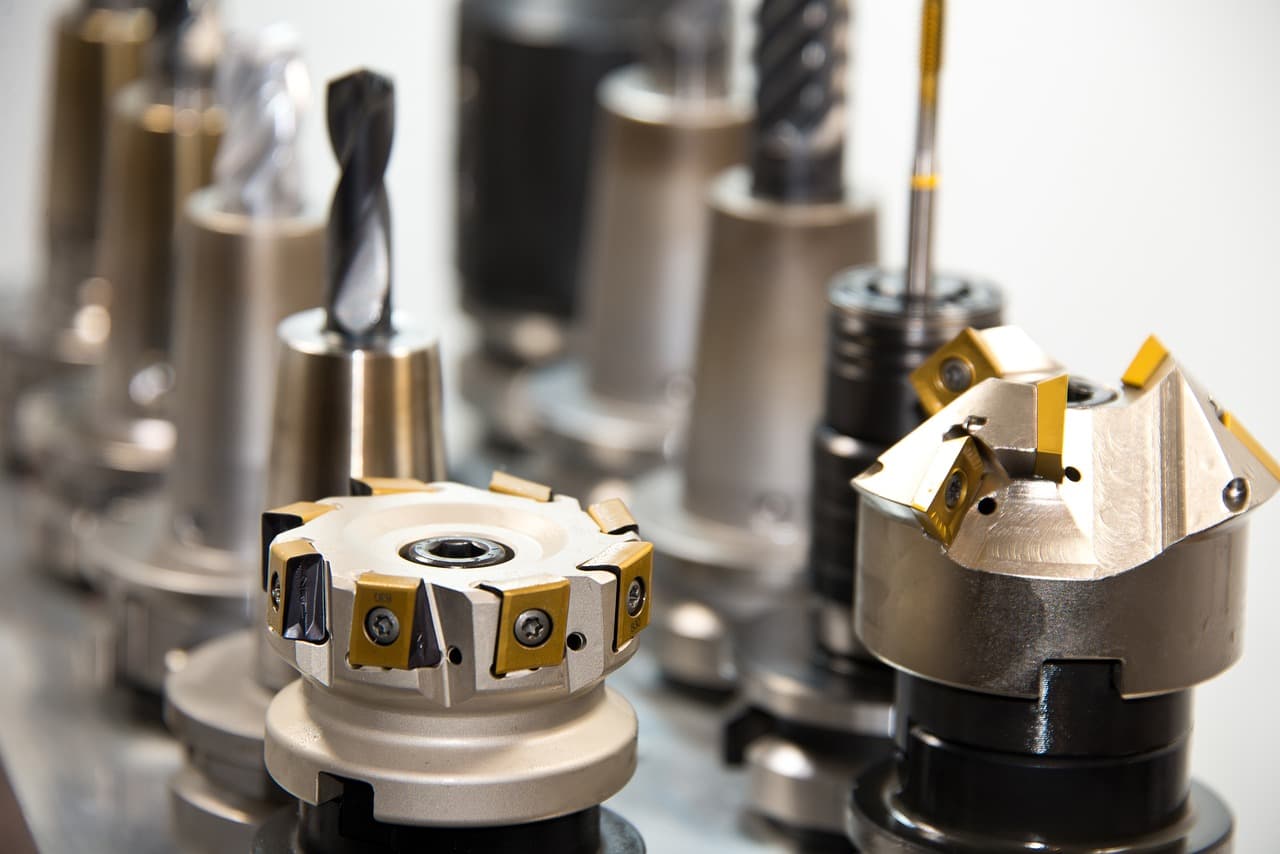
2. Consider Tool Access and Reach (The "Can We Actually Cut This?" Rule)
This is where many designs fall apart. I can't tell you how many times I've seen a beautiful design that's impossible to machine because the tools can't reach where they need to go. It's like designing a beautiful staircase that you can't actually build.
A real example from our shop: We had a customer who designed a part with a 0.125" end mill needing to reach 2" deep. That's a 16:1 length-to-diameter ratio—basically like trying to cut with a piece of spaghetti. The tool would chatter, break, or just plain refuse to cut. We redesigned it to use a 0.25" end mill at 1.5" depth, and suddenly the machining time dropped by 70%.
The practical guidelines:
- Avoid deep pockets where the depth is more than 4 times the tool diameter
- Always provide adequate clearance for tool entry—think about how the tool gets there
- Design for standard tool sizes that we keep in stock
- Consider how easy it is to change tools during machining
3. Optimize Wall Thickness (The "Will It Break?" Test)
Wall thickness is one of those things that seems simple but can make or break a part. Too thin, and the part will warp, chatter, or break during machining. Too thick, and you're wasting material and machining time.
Here's what I've learned from machining thousands of parts:
- Aluminum: 0.040" (1mm) minimum—anything thinner and you're asking for trouble
- Steel: 0.030" (0.75mm) minimum—steel is stronger but also more prone to chatter
- Titanium: 0.050" (1.25mm) minimum—titanium is tough but can be tricky to machine
The real secret: It's not just about minimum thickness—it's about consistency. I've seen parts where one wall was 0.100" thick and another was 0.040" thick. The machining was a nightmare because the tool had to constantly adjust for different cutting conditions. Keep your wall thicknesses as uniform as possible, use fillets at transitions, and always consider where stress concentrations might occur.
4. Design for Standard Tooling (The "What's in Our Toolbox?" Rule)
This might be the most overlooked aspect of DFM, but it's also one of the most important. Every time we have to order a special tool for your part, it adds cost and time to your project. And trust me, we have a lot of tools in our shop.
The magic numbers that save you money:
- Imperial holes: 0.125", 0.25", 0.375", 0.5", 0.75", 1.0"
- Metric holes: 3mm, 6mm, 8mm, 10mm, 12mm
- Threads: Stick to standard UNC/UNF threads—we have the taps for these
A cautionary tale: Last year, a customer designed a part with a custom 0.187" hole and M7 x 0.75 threads. We had to order special tools, which cost $200 and added 3 days to the project. If they had used 0.25" holes and M8 x 1.25 threads, we could have used our standard tooling and saved them both time and money.
The bottom line: Design for the tools we already have, and your project will be faster and cheaper.
5. Tolerances and Surface Finish (The "How Perfect Does It Need to Be?" Question)
This is where I see the biggest mistakes in part design. Engineers often specify tolerances that are much tighter than they actually need, and this can triple or quadruple the cost of a part.
The tolerance reality check:
- ±0.005" - This is our "bread and butter" tolerance. Most parts work perfectly fine with this, and it's very cost-effective
- ±0.002" - Good precision when you need it, adds about 20-30% to the cost
- ±0.001" - High precision, adds 50-100% to the cost
- ±0.0005" - Very high precision, adds 200-500% to the cost
A real example: We had a customer who specified ±0.0001" on a bracket that just needed to hold two parts together. The part cost $450 to machine. When we asked why they needed such tight tolerances, they said "just to be safe." We redesigned it with ±0.005" tolerances, and the cost dropped to $120. The part worked perfectly.
Surface finish is similar:
- As-machined (32-125 Ra) - Most cost-effective, works for 90% of applications
- Fine finish (16-32 Ra) - Adds 20-30% to cost
- Very fine (8-16 Ra) - Adds 50-100% to cost
The golden rule: Only specify tight tolerances and fine finishes where you actually need them. Every extra decimal place costs money.
Common DFM Mistakes to Avoid
1. Over-Tolerancing
Problem: Specifying ±0.0001" when ±0.005" would work Impact: 300-500% cost increase Solution: Only specify tight tolerances where absolutely necessary
2. Poor Feature Accessibility
Problem: Features that require special tooling Impact: Custom tooling costs, longer lead times Solution: Design for standard tooling and accessibility
3. Inconsistent Wall Thickness
Problem: Varying wall thicknesses Impact: Machining difficulties, poor surface finish Solution: Maintain consistent thickness throughout
4. Complex Geometries
Problem: Unnecessarily complex features Impact: Higher machining costs, longer lead times Solution: Simplify where possible, use standard features
DFM Checklist for CNC Machining
Design Phase
- ✅ Minimize number of setups required
- ✅ Use standard hole sizes and threads
- ✅ Maintain consistent wall thickness
- ✅ Design for tool accessibility
- ✅ Specify realistic tolerances
- ✅ Consider material properties
- ✅ Plan for fixturing
- ✅ Design for inspection
Manufacturing Phase
- ✅ Verify tool accessibility
- ✅ Check fixturing requirements
- ✅ Confirm tolerance achievability
- ✅ Validate material selection
- ✅ Test machining sequence
- ✅ Verify quality requirements
Working with Your CNC Machining Partner
Early Collaboration
- Involve your manufacturer in the design phase
- Share your design intent and requirements
- Discuss manufacturing constraints early
- Consider alternative approaches
Communication is Key
- Provide detailed drawings
- Specify all requirements clearly
- Discuss cost vs. function trade-offs
- Be open to design suggestions
Conclusion
Design for Manufacturing is not just about reducing costs—it's about creating parts that are manufacturable, reliable, and cost-effective. By following these DFM principles and working closely with experienced CNC machining partners like Multitech Manufacturing in Fremont, California, you can achieve better results at lower costs.
Remember: The best time to consider manufacturing is during the design phase, not after the part is designed. Early collaboration with your manufacturing partner can save significant time and money while ensuring your parts meet all requirements.
Ready to optimize your next design? Contact our engineering team at Multitech Manufacturing for a free DFM review of your parts.